Agent
This section displays a grid containing all existing agents.
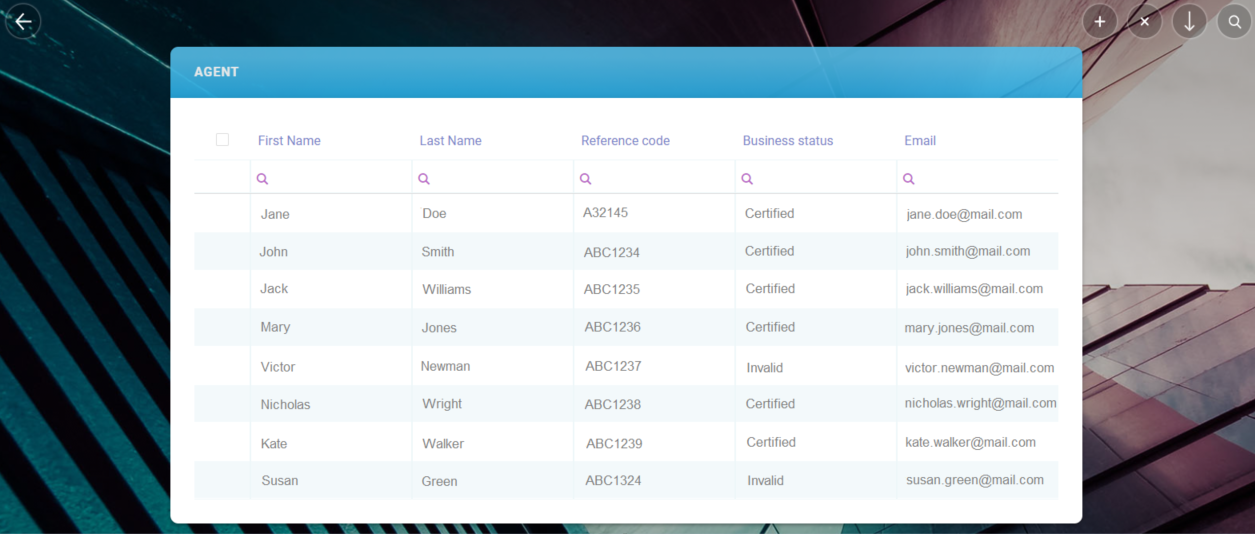
The grid contains the following columns:
-
First Name: The first name of the agent, linked to the
FTOS_INS_Agententity. -
Last Name: The last name of the agent, linked to the
FTOS_INS_Agententity. -
Reference Code: The unique code assigned to an agent from the agentCode attribute of the
FTOS_INS_Agententity. -
Business Status: The business status can be either Certified or Invalid, linked to the agentStatusId attribute of the
FTOS_INS_Agentstatusentity. -
Email:The agent's email, linked to the
FTOS_INS_Agententity.
Every column in this grid has a search function at the top.
By double clicking any agent record, the Edit Agent form is displayed, where the user can edit and update any existing information. The form also displays the Quote Life grid, containing the list of quotations created by the selected agent.
The user can add a new agent by clicking the Insert (+) button on the top right corner of the screen.
The user can also delete any of the records in the Agent grid, by ticking one or multiple records, and clicking the Delete (x) button on the top right corner.
The grid can be exported into an .xlsx file, by clicking the Export button, located on the top right corner.
By clicking the Go Back button on the top left, the user is taken to the main screen.
Add a New Agent
The user can add a new agent by clicking the Insert (+) button on the top left corner of the Agent screen.
The Add Agent form is open where the user needs to fill out the First Name, Last Name, Reference Code, Email and PIN fields. The Business Status, which is taken from the System user, existing attribute of the the FTOS_INS_Agent entity, lookup type.
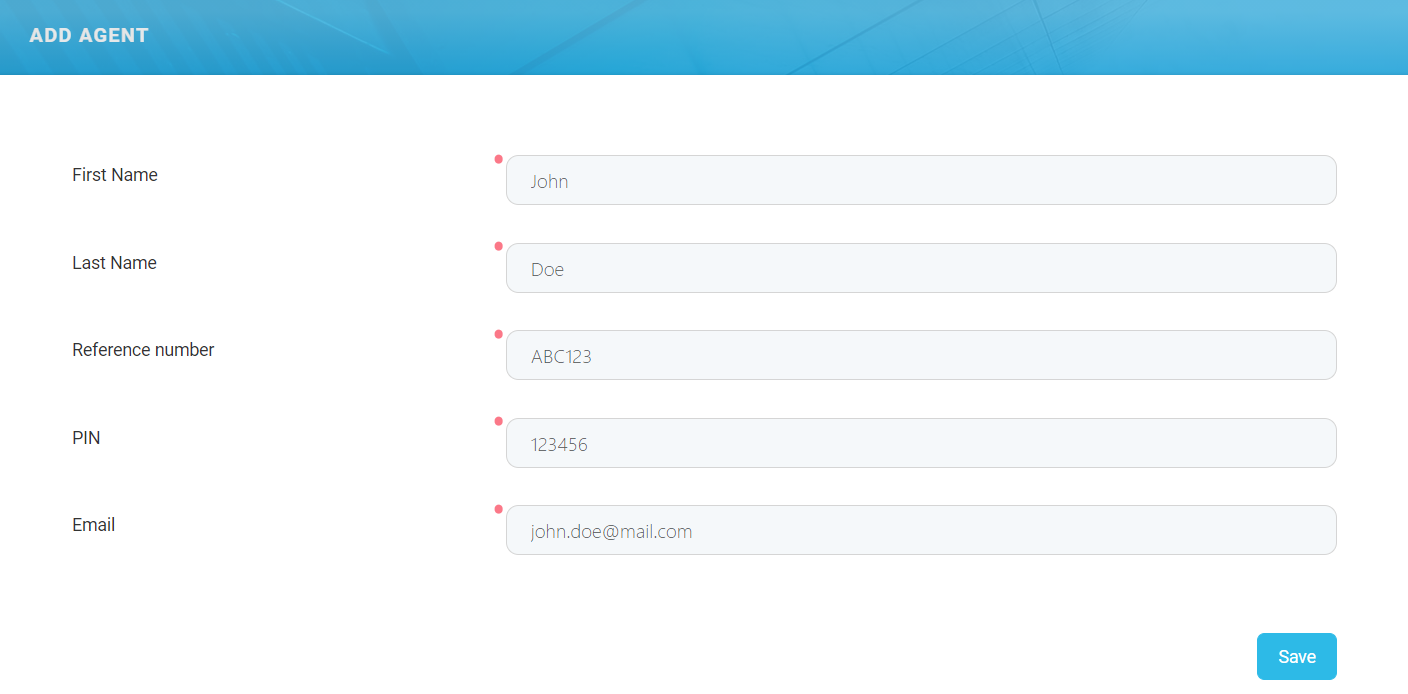
After the user inputs the agent data and clicks Save, the Agent grid is displayed, where the new record is present at the top of the list.
After new agents are added into the FintechOS platform, regardless of the method, the system automatically generates a new system user, with the same user name as the email user name, before the @.
An email is sent to the user with the account creation confirmation, with the temporary password and the link to the user account portal. The ID of user is saved in the agent's entity.
If the email address is changed, the updates are also done in the field from the system user registration.