Initiating and Authorizing a Bulk Payment
- On the homepage, click Payments from the bottom panel of the screen.
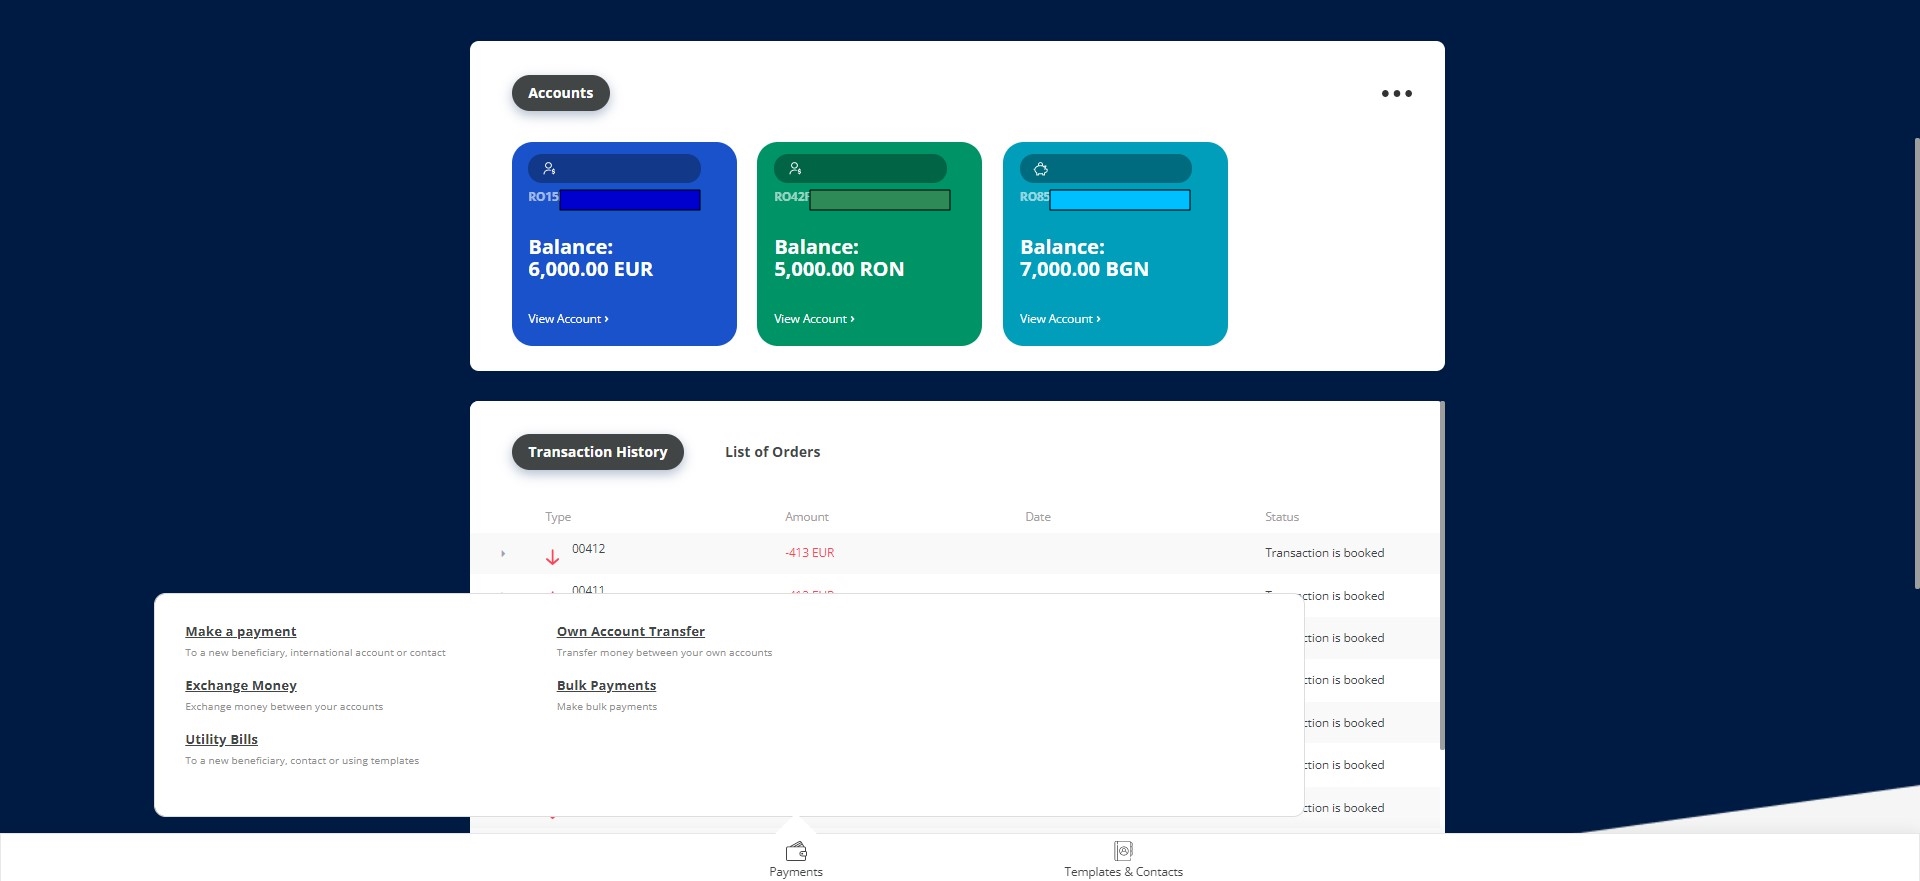
Or select an account from where to wire the payment, and from the account page click Payments.
- From the module, select Bulk Payments. The Bulk Payments List is displayed with the grid.
- To create a new bulk payment, from the grid, click Insert on the top left-corner of the grid.
- Access the page Bulk Files Overview with the following fields to be configured:
Column
Data
Description
Type of File
Option set
Select from the list the type of file to be imported (e.g. Domestic Payments, Direct Debits, Intra-bank EUR Payments, Budget Payments).
Add file
File
The name of the file imported from the local drive.
NOTE
Cyrillic characters are allowed and you can insert only one file at a time.There is a button labeled Back to Bulk File Overview. By clicking it, you arrive at the list of bulk files payments that have been initiated. You can initiate a payment from here as well by clicking New Bulk Payments.
There is a button labeled Back to Bulk File Overview. By clicking it, you arrive at the list of bulk files payments that have been initiated. You can initiate a payment from here as well by clicking New Bulk Payments.
- Click Browse to open the File Explorer. Search for the file to be added and save. Once you added the file, the Validate button is displayed.
Or drop the file directly into the page by dragging.
To cancel, click the back arrow.
- To continue, click Validate.
If an error occurs, a toast message is displayed letting you know what is the problem. If such an error occurs, you must:
- change the file accordingly,
- click the red x symbol found next to the name of the file attached,
- re-import the file with the modifications made in the Bulk File Overview page. IMPORTANT!
On the contents of the file, there are some validations done. For details, see Bulk Payments.
- If no error occurs, then the page displays: Process: 100%. You payment was successfully validated. Payment fee: e.g., 12BGN Total amount paid including commisssions: e.g., 512BGN. When the file has finished processing, the page displays the emoji signifying the success of the import.
ImportedFrom here, the payment is sent to Core Banking for processing, if it is processed successfully, then the payment is done. If not, then the user has to reinitiate the process.
The system looks for the to identify the single or joint signature. For joint signature, the system runs two checks:
- the total sum of the file must be below the threshold
- each individual payment within the file must be below the threshold.
The user is directed to the page Terms & Conditions with the following message: The OTP Service is to protect the use of your account by requiring you to authenticate your identity using a one-time-password ("OTP"), which shall be transmitted through the short message service ("SMS") by the bank to your mobile phone number registered under your account, for transaction that require such OTP for authetification purpose. We'll use the phone number +40********
- Click Send to receive the email with the code.

Single Signature
- A pop-up is displayed asking you to insert the code. There are six boxes where to insert each number or the six-digit code sent via email address. Insert the code.
- Click Accept.
If the code is inserted correctly, then the page loads the message You have successfully signed the file. Click Home to access the homepage. The status of the payment is Authorized.
If the code is inserted wrongly, the page Terms&Conditions reloads. Click Send to reinitiate the process.
Joint Signature
- A pop-up is displayed. There are six boxes where to insert each number or the six-digit code sent via email address. Insert the code.
- Click Accept.
If the code is inserted correctly, then the page loads the message You have successfully signed the file. Click Home to access the homepage. The status of the payment is Validated Core. When all the signatures are completed the status is Authorized.
If the code is inserted wrongly, the page Terms&Conditions reloads. Click on Send to reinitiate the process.
The flow is continued by another user who is part of the Administrative Rule:
- Open the Online and Mobile Banking solution with the given username and password.
- Select the Business Unit from the list (optional, only if the user is associated to multiple customers).
- Click Next.
- Click Payments from the bottom panel of the screen.
- From the module, select Bulk Payments. The Bulk Payments List is displayed with the grid containing the columns: Created On, Type of File, Status and three buttons: Edit, Delete, Sign (This last button is visible only to the users who have to sign the payment, otherwise, it is not visible to those who already signed or if the payment has been signed by everyone from the Administrative Rule).
- Click the Sign symbol.
-
The user is directed to the page Terms & Conditions with the following message: The OTP Service is to protect the use of your account by requiring you to authenticate your identity using a one-time-password ("OTP"), which shall be transmitted through the short message service ("SMS") by the bank to your mobile phone number registered under your account, for transaction that require such OTP for authetification purpose. We'll use the phone number +40********
- Click Send to receive the email with the code.
- A pop-up is displayed with the message: Please insert the code received to authorize the file nameoffile.txt from the account 123456789. There are six boxes where to insert each number or the six-digit code sent via email address. Insert the code.
- Click Accept.
If the code is inserted correctly, then the page loads the message You have successfully signed the file. Click Home to access the homepage. The status of the payment is
Authorized.If the code is inserted wrongly, the page Terms&Conditions reloads. Click Send to reinitiate the process.
For details what the system does with the payments that have Authorized status, see Bulk Payments.
The final business status is displayed on the Bulk File Overview page.