GDPR, Anonymization of Customer Data
In accordance with the directives for GDPR![]() The General Data Protection Regulation is a regulation in EU law on data protection and privacy in European Union and European Economic Area., individual customers' data privacy has to be protected. Data Governance is the process that classifies sensitive data and anonymizes it on request for data protection regulations.
The General Data Protection Regulation is a regulation in EU law on data protection and privacy in European Union and European Economic Area., individual customers' data privacy has to be protected. Data Governance is the process that classifies sensitive data and anonymizes it on request for data protection regulations.
Based on our experience, FintechOS selected which information to be anonymize. The financial institution can validate or add/remove attributes from the anonymization process within Innovation Studio.
There are two scenarios when the data can be anonymized:
- Automatically
After 5 years (not counting the year of closure) from the contractual relationship between a customer and a bank has ended. Certain data is automatically anonymized by the system.
- Manually
Upon user request, the bank can manually select a customer for which the data to be anonymized.
The types of information that are anonymized are username and password and:
Session information and activity within the Online and Mobile Banking solution:
|
session information |
| IP |
| login time |
| logout time |
| used functionalities during the session |
Personal data about their identity and contact information:
Entity containing the data of the users' enrollment process | Primary key |
| name | |
| system user ID | |
| user name | |
| name | |
| middle name | |
| last name | |
| personal ID number | |
| customer ID CoreBanking | |
| document number | |
| email address | |
| mobile phone number | |
Entity containing the users' data | name |
| full name | |
| name | |
| middle name | |
| last name | |
| personal ID number | |
| Customer ID CoreBanking | |
| document number | |
| system user ID | |
| unique identifier | |
| email address | |
| mobile phone number | |
Entity containing the users and customers' data | name |
| system user ID | |
| client ID | |
| accounts |
Products, services and transactions including communication between the customer and bank.
Entity containing the mailbox received messages | customer |
| user ID | |
Entity containing the mailbox sent messages
| attachments |
| customer | |
Entity containing the payments' data
| payer first name |
| payer middle name | |
| payer last name | |
| payer account | |
| payer address | |
| payer postcode | |
| beneficiary name | |
| beneficiary IBAN account | |
| payment reason | |
| name | |
| transaction Id | |
| ultimate payer | |
| ultimate payer ID | |
| ultimate beneficiary | |
| purpose of payment | |
Entity containing the payment extension
| first authorizer user ID |
| second authorizer user ID | |
| third authorizer user ID | |
| fourth authorizer user ID | |
Entity containing the foreign currency payment extension | Primary key |
| account number | |
| beneficiary address | |
| beneficiary post code | |
| payment attachments | |
Entity containing the budget payment extension | obligated party payer |
| companyId obligated party | |
| personId obligated party | |
| personId obligated party foreigner | |
| document number | |
| document date | |
Entity containing the utility payment contracts | Primary key |
| name | |
| user | |
| customer Id | |
Entity containing the utility services | name |
| utility payment service parent Id | |
Entity containing the utility transactions | name |
| utility payment contractid | |
| user X TransactionType id | |
| transaction ID | |
| payment details | |
Entity containing the payments templates | Primary key |
| template friendly name | |
| schema type | |
| currency | |
| visible all users | |
| payer account | |
| beneficiary name | |
| beneficiary IBAN account | |
| payment amount | |
| payment currency | |
| payment reason | |
| payment type | |
| name | |
| payment category | |
| beneficiary address | |
| details of charges | |
| settlement date | |
| obligated party payer | |
| company Id obligated party | |
| person Id obligated party | |
| person Id obligated party foreigner | |
| budget type payer | |
| budget type code | |
| budget type description | |
| document type | |
| document number | |
| document date | |
Entity containing the data about bulk files | Primary key |
| bulk file name | |
Entity containing the users and bank account data | alias |
Entity containing the bank account data | IBAN |
| available balance | |
| reason for the blocked amount | |
| blocked amount | |
currency | |
| balance | |
| loan number |
The anonymization is done based on a rule. Both requests manually and automatically, anonymize the data that have the status Inactive. Manually, the bank representative searches for the user or customer or automatically, the system anonymizes all the records which meet the rule.
All the records, which will be anonymized, must be in the Inactive state first before anonymization.
Prerequisites
You need an administrator role to perform this action. Additionally, before creating the request, you need to disassociate the users from the customer. Then, you must inactivate the users.
To inactivate a user, two flows are in place. The maker must:
- Open the FintechOS Portal.
- Click the button Search Users.
- Type a value in one of the columns: User name, first name, last name, mobile phone number, email address, personal ID number, Core Banking Unique Id, System User Id.
- Select the user needed for the modification from the grid.
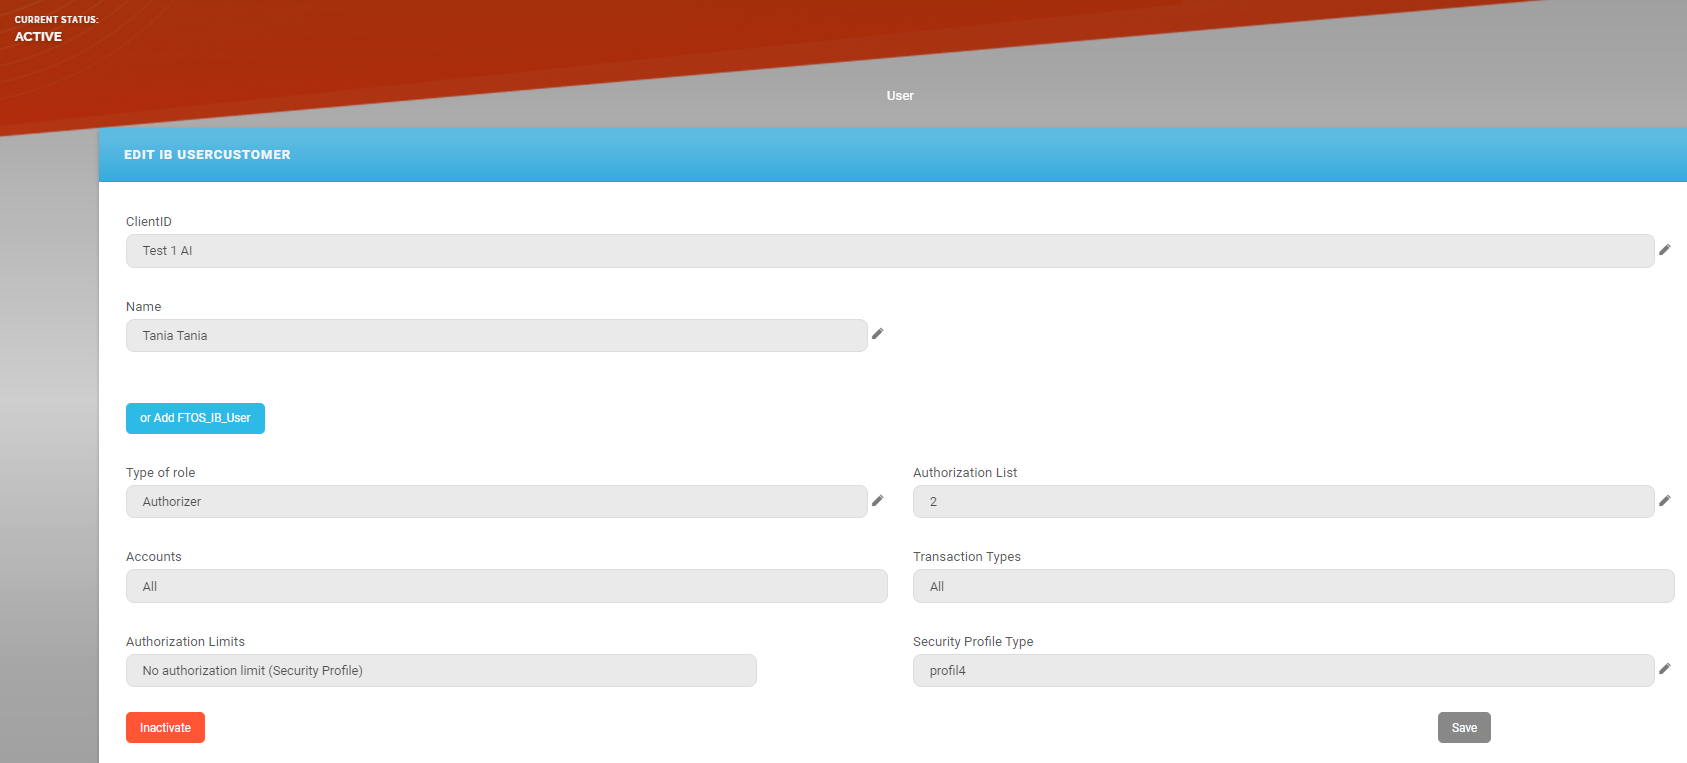
- On the page Edit IB User, in the grid Associated Customers, select the customer. The User Client List page is displayed.
- In the grid Current Modifications List, select the active user by clicking once on the entry in the grid.
- Click Inactive.
 IMPORTANT!
You cannot inactivate a user from the grid Active settings (before current modifications). A toast message is displayed. Firstly, click Rest the modifications or Activate & Approve, then turn the user inactive.The record is saved automatically. The user is displayed in the grid Current Modifications List with the business status
To Be Inactivated.
From here, it is the checker who finishes the inactivation.
The checker must:
- Log in the FintechOS Portal with the given credentials.
- From the grid Requests sent for Approval, double-click the record with the business status
To Be Inactivated. The User Client List opens. - Click the Pick Up button. The page reloads.
- Click Approve & Activate. The business status is
Inactive.
Creating a Sensitive Request and Approving the Records Manually
The following process is done by a back-office employee from the bank:
- Log into FintechOS Portal with the credentials given.
- Open the main menu, and select Data Anonymization Requests. The Sensitive Requests List is displayed.
- Click Insert.
- Fill in the following fields:
Field Description Request No Insert a suggestive number. Request Date The system automatically displays the current date. Sensitive Context Select one from the list:
- GDPR Account (affects data from more entities)
The attributes are CNP, Name, Phone, First Name, Last Name, entityStatusID.
- GDPR User.
NOTE
Two requests must be made, one with each of the contexts above for the anonymization to be complete. - GDPR Account (affects data from more entities)
- Click Save and reload. The Request Search Attributes grid is displayed. It is time to choose a customer who has those attributes active.
In the grid, in the column named Search Value, insert the corresponding CNP of the customer you are trying to anonymize.
- Click Save and reload. The request was created.
- On the top right-hand corner, in the Business Workflow widget, the status is
Register. Change the status to Requested by clicking on Choose status, and then on Requested from the drop-down. - The system asks you: Are you sure you want to change the business status?
Click Yes to continue. The data to be anonymized is populated.
or
Click No to stop the process.
- Click in the section tab Data Found. The Request Entities grid is displayed, it showcases the customer.
- On the top right-hand corner, in the Business Workflow widget, the status is
Requested. Change the status toValidatedby clicking on Validated.If the Rule is Approved, then:
- The system asks you: Are you sure you want to change the business status?
- Click Yes to continue. The rule is triggered and the status is
Solved.or
- Click No to stop the process.
- Click Yes to continue. The rule is triggered and the status is
- Click the section tab Data found.
- Click on the customer found.
- In the page Edit Request Entity, the fields become read-only, and the Request Data Rules grid displays the outcome of the rule in the Message field:
- success
It has the status pending approval.
or
- fail.
- success
- On the top right-hand corner, in the Business Workflow widget, the status is
Pending Approval. Change the status toApprovedorRejectedby clicking Choose status, and then on Approved from the drop-down if the configuration is as needed. - Click Save and reload. In the Data Found section tab, the Business Status is
Anonymized. If the Rule is Rejected, then:
The system displays the message: Are you sure you want to change the business status?- Click Yes to continue. The rule is triggered and the status is
Solved.or
- Click No to stop the process.
In the page Edit Request Entity, the fields become read-only, and the Request Data Rules grid displays the outcome of the rule:
success
or
- fail.
The status is
Rule Rejected.
- Click Yes to continue. The rule is triggered and the status is
- On the top right-hand corner, in the Business Workflow widget, the status is
Rule Rejected. Change the status toApprovedorRejectedby clicking on Pending Approval, and then on Approved from the drop-down if the configuration is as needed.
For more information, see Data Governance.