Adding Video Streaming to a Digital Journey
Using this micro-service in a form driven flow renders the trip to the branch redundant. A customer no longer has to go to a physical store to contract a service. By simply clicking on a icon to launch the journey, and during some point the user has a call with the operator to approve or reject the application. Follow the steps to integrate the automation processor into a flow:
-
In FintechOS Studio, create a custom journey to define a button to call the Video Streaming automation processor. For information on how to create a custom journey, see FintechOS Studio User Guide, section Custom Flows.
-
Go to the form driven journey or form step on which you want to add the button to call the Video Streaming automation processor. This is the SourceEntityName you specified when configuring the automation processor's settings.
- Click the Advanced tab.
- Click the After Events tab (for Steps, it is displayed by default, being the only tab available).
- In the JavaScript field, provide the following code to call the video streaming processor:Copy
// For Ecosystem SysPack 2.5.0 and later, use:
var dfpHelper = ebs.importClientScript('FTOS.ECOS.Utils');

// Prior to Ecosystem SysPack 2.5.0, use:
// var dfpHelper = ebs.importClientScript('FTOS.DFP');

//call VideoStreming component custom form
$(".<video streaming button name>").click(function() {
    var componentName = 'FTOS_DFP_VideoStreaming';

    //name of the component
    var recordId = ebs.getCurrentEntityId();

    var p = {};
    p.flowSettingsName = formData.FlowSettings;
    p.processorSettingsType = 'VideoStreaming';
    ebs.callActionByName("FTOS_DFP_FlowProcessorSettingsByType", p, function(e)
    {
        var processorSettingsName = e.UIResult.Data.ProcessorSettingsName;
        dfpHelper.loadComponent(componentName, processorSettingsName, recordId, false);

}); - Click Save and Close to save your digital journey.
Test Connectivity
When the journey is initialized, a video test connectivity starts. The test runs for 30 seconds, so in case the operator starts the call before the test connectivity finishes, they will need to wait until the test ends. If you want to disable this feature, you can set the DisableTestConnectivity parameter to True. The messages displayed to the user are the following:
| Message | Context |
|---|---|
| accessDenied | The user did not allow camera/microphone access. You will need to provide an image named "blocked-camera.jpg" or "blocked-microphone.jpg", and place it in the /custom/assets folder. |
|
test-connectivity |
This message is displayed during the connectivity test. |
|
slow-internet |
Message displayed if the internet connection is slow and video/audio may be interrupted. |
|
video-recording |
Message displayed if the video call is being recorded. |
- If there are issues with the video call, a report is made immediately and the id of the report is saved in the
FTOS_DFP_VideoIssue entity.- Info about the client's browser is saved automatically in the
FTOS_DFP_Logging entity. To disable this, simply comment the saveBrowserDetails function call.- If you don't want to allow the user to control the microphone/camera devices and be able to turn them off, you can set the
DisableCameraSelection parameter to True.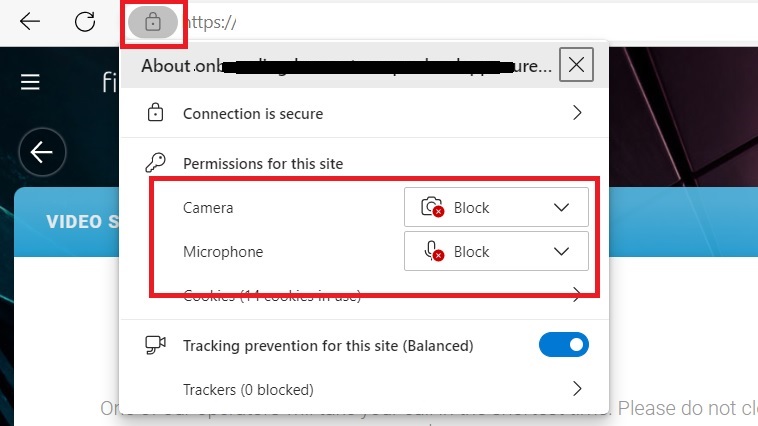
Operator Events
When the journey is initialized, a credentials request is sent. The Operator will see a counter until they get the credentials. If the credentials are not retrieved, a Retry credentials message will be shown, so the operator can retry to get them.
If the credentials are retrieved, a message is displayed to the operator and the Start video button is displayed. The credentials will be saved in the FTOS_DFP_QueueItem entity, so in case the window is refreshed, the video can be restored.
The Operator can select the camera, microphone and speakers sources before starting the call. It is also possible for the operator to start video with the camera turned on.
Events about video state, publisher and subscriber can be displayed, so the operator is warned about a potential problem:
formScope.videoTokBoxComp.events.addEventListener(
    "publisherChange",
    function (event) {
      if (document.getElementById("publisher-status")) {
        document.getElementById("publisher-status").innerHTML =
          event.detail.message;
      }
    }
  );

formScope.videoTokBoxComp.events.addEventListener(
    "subscriberChange",
    function (event) {
      if (document.getElementById("subscriber-status")) {
        document.getElementById("subscriber-status").innerHTML =
          event.detail.message;
      }
    }
);There is an state event that is emitted when the archive starts, so you can save the archiveId using this event:
formScope.videoTokBoxComp.events.addEventListener(
    "stateChange",
    function (event) {
      console.log(event.detail);
      if (event.detail.value === 10 && formScope.queueItemId) {
        // archive started
        var archiveStoreEntity = {
          name: "FTOS_DFP_QueueItem",
          id: formScope.queueItemId,
          archiveId: event.detail.id,
          archiveAttr: "archiveId",
        };
        ebs
          .callActionByNameAsync(
            "FTOS_DFP_VideoStreaming_GetArchives",
            archiveStoreEntity
          )
          .then(function () {
            console.log("archive id added", archiveStoreEntity);
          });
      }
      if (document.getElementById("state-status")) {
        document.getElementById("state-status").innerHTML +=
          "<br/>" + event.detail.message;
      }
    }
);When internet connection is very slow, you can display a message to the operator:
formScope.videoTokBoxComp.events.addEventListener(
    "subscriberStats",
    (event) => {
      console.log("subscriberStats: ", event.detail);
      if (event.detail.video) {
        document.getElementById("slow-internet").hidden =
          event.detail.video.supported;
      }
    }
  );