Choose the Coverages
The Product Coverages tab allows you to attach coverages to your insurance product. For example, for property insurance, a customer might buy insurance that has two types of coverages: one for the house and the other one for the contents of the house.
The Product Coverages tab has two sections:
-
Main Coverages - This section is reserved for Base coverages. For example, for a Property Insurance policy, the Base insurance product item could be the coverage for the actual building, only. And the coverage for the contents of the house could be included as a Rider - an optional insurance product item, that would be charged separately.
-
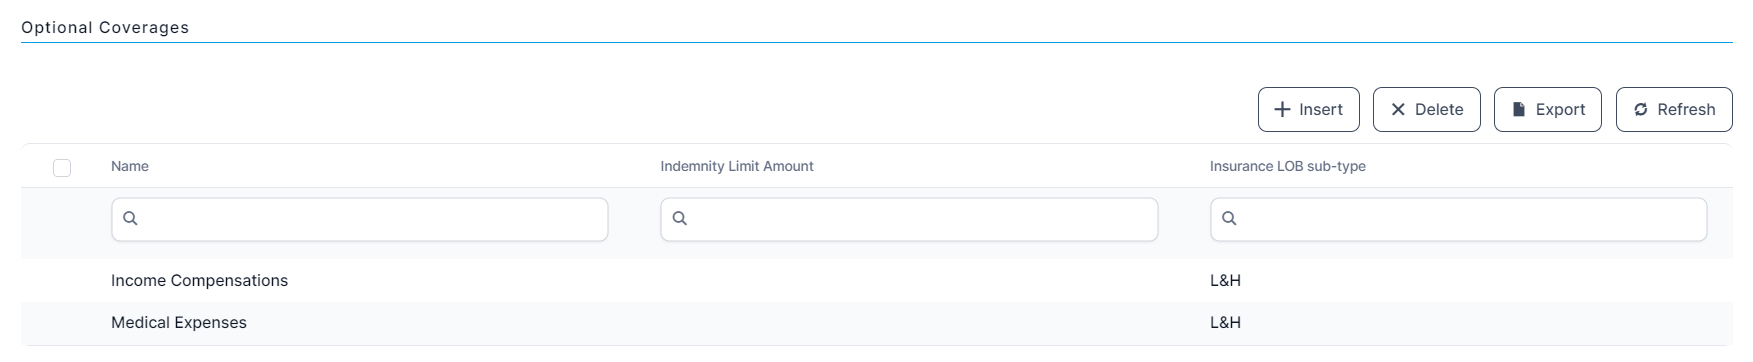
Optional Coverages - In this section, you can include Riders - additional perils that the customer wants to cover. For example, for a Life Insurance policy, additional coverage may potentially refer to losing working capacity.
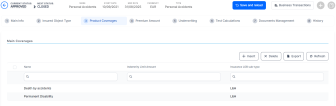
Below, an example of the available configuration sections, with some attached coverages, for a Draft product:

Define the Main and Optional Coverages
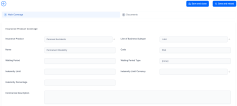
The Main Coverage insert form allows you to configure any number of main coverages for your insurance product. It also lets you attach all necessary documents describing each added coverage. Follow the steps below to add a main coverage:
-
In the Main Coverages Grid, click Insert. The Insurance Product Coverage form is displayed.
-
Fill in the following fields:
-
Insurance Product: The Insurance Product that includes the current main coverage. This information is automatically filled in by the system;
-
Line of Business Sub-type: From the dropdown, select the LOB Sub-type for the main coverage. For configuration details, see the Lines Of Businesses page;
-
Name: Add a name for the main coverage;
-
Code: Insert a code for the main coverage;
-
Waiting Period Type: From the option set, choose Days, Weeks or Months to indicate the type of waiting period;
-
Indemnity Limit: The maximum monetary amount provided on the policies incorporating this main coverage;
-
Indemnity Limit Currency: From the drop-down list, select a currency for the indemnity limit;
-
Indemnity Percentage: Det the main coverage indemnity limit as a percentage from the total indemnity limit of the insurance product;
-
Commercial Description: Text area for describing the main coverage.
-
-
Click Save and Reload. The Sub-coverages grid is displayed.
-
Click Insert in this grid to add a new sub-coverage. This allows you to atach perils (e.g. natural disasters), or groups of perils, to the main coverage.
-
Fill in the following fields:
-
Name: Add a name for the sub-coverage;
-
Code: Add a code for the sub-coverage;
-
Item Type: It is automatically filled in by the system with the type group;
-
Parent Coverage: It is automatically filled in by the system with the name of the main coverage;
-
Line of Business Sub-type: It is automatically filled in by the system with the current LOB type;
-
Icon: Upload an icon for the peril or condition, if necessary;
-
Nat-Cat Coverage: Check the box if the peril or condition belongs to the Natural Catastrophes group;
-
Commercial Description: Text area for describing the sub-coverage.

-
-
Click Save and Reload. The Insurance Covered Perils grid is displayed.
-
In this grid, click Insert. The Insurance Covered Peril form is displayed.
-
In the Covered Peril drop down, you can see a list of all the types of perils and conditions covered by that particular sub-coverage. Choose the perils you want to cover for this sub-coverage.
-
Click Save and Close. The chosen covered perils are displayed in the grid.

-
Click Save and Close. Access the Documents tab.
-
Click Insert. The Add Document form is displayed.
-
Fill in the fields with the name and the code of the document, and also the following details:
-
Document Type: From the option set, choose between Policy, Terms & Conditions orIPID - Insurance Product Information Document - which is a type of document presented during the Quote&Apply flow;
-
Included in offer template: Check the box if your document needs to be included in the product offer template;
-
Included in the policy template: Check the box if your document needs to be included in the policy template.
-
-
Click Add file to upload your document.
-
Click Save and Close. The file is displayed in the Documents grid.
-
Click Save and Close. The defined main coverage is displayed in the Main Coverages list, in the Product Coverages tab.
-
Move to the Optional Coverages grid of the Product Coverages tab. The Optional Coverages insert form allows you to configure any number of optional coverages for your insurance product.
-
In the Optional Coverages grid, click Insert. The Insurance Product Coverage form is displayed.
-
Follow the same steps as for the Main Coverage (2-15) to insert and configure Optional Coverages. The added records are displayed in the grid.

-
Continue to tab 4, Premium Amount.