Step 4. Configure Workflow Rules
FintechOS Studio enables you to provide extensive configuration of the business workflow used on a specific entity, by defining the set of rules to be automatically triggered on workflow status change and also define specific actions to be performed before or after status change.
Step 1. Select business workflow on entity
To configure the workflow rules, you first need to select the business workflow you previously created on the entity where you want to use it. To do so, follow these steps:
- In FintechOS Studio, click the main menu icon (
 ) at the top left corner.
 - In the main menu, click Evolutive Data Model> Data Model Explorer. The Business Entities List page appears.
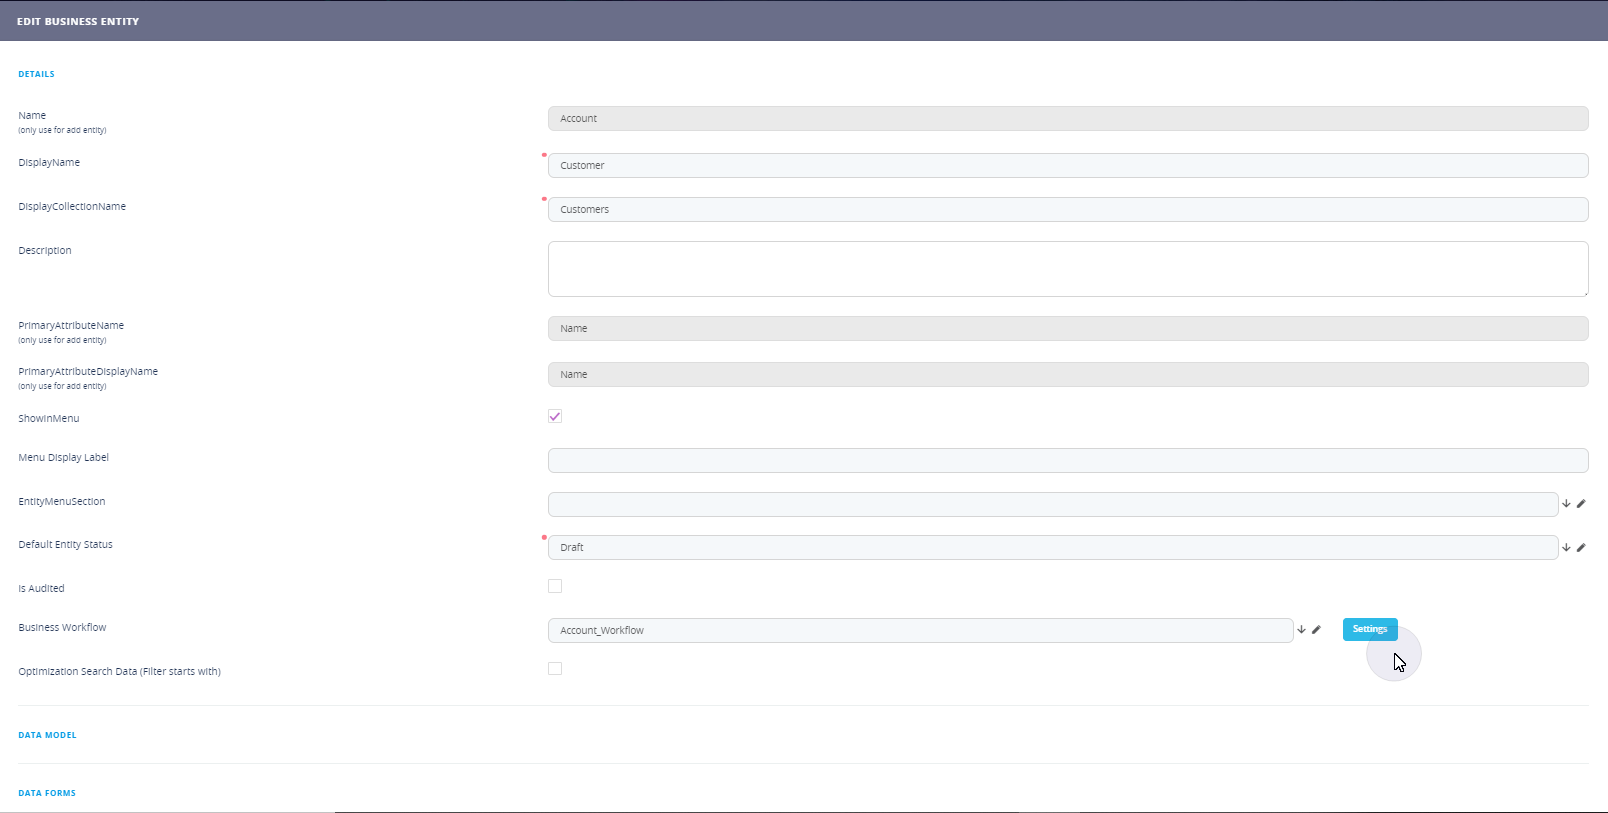
- Double-click on the desired entity. The Edit Business Entity page appears.
- In the Business Workflow field, select the business workflow to be used on the business entity.
- Save the changes.
A new record is added in the Business Workflows Configurations List page (Fintech Automation > Business Workflow > Business Workflow Configurations) with a name that follows this convention: "<the name of the business workflow> for <the name of the entity on which the business workflow was selected>".
Step 2. Configure workflow rules
You can configure the workflow rules from the Edit Business Workflow Configuration page. You have two options to access it, as follows: .
- From the Edit Business Entity page, by clicking the Settings button next to the Business Workflow non-editable field.
- From the Business Workflows Configurations List page, by double-clicking on the record that you want to configure.
In the Business Conditions section, add the business conditions by defining the rules and actions to be run on transition from one status to another if specific business conditions are met.
If you want to restrict the workflow transitions to the list of defined transitions, tick the Allow Only Defined Transitions checkbox.