Installing Banking Product Factory 3.2
Follow the steps described below to perform an automatic installation of the Banking Product Factory. This is a process of running a script, the install_SysPack.bat file, on your environment. The script automatically imports the content of the Banking Product Factory v3.2 into your Innovation Studio.
You must run the script on the machine where Innovation Studio is installed.
Make sure you have access rights to Studio's database.
Dependencies
In order to install Banking Product Factory v3.2, first you need to install the following:
-
Innovation Studio minimum version v22.1.0.1
-
SySDigitalSolutionPackages v22.1.0000
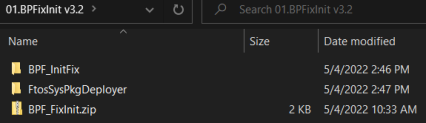
If you are installing Banking Product Factory v3.2 on top of anther version of Banking Product then you must previously run a correction package, named
BPFixInit.zip. Find this package in the same Banking Product Factory v3.2 archive file.Pre-Installation Checklist
The SysPack has unique constraints on some of the standard entities like: FTOS_DFP_FlowSettings , FTOS_DFP_ProcessorSettings, FTOS_VersionSettings, FTOS_VersionSettingsItem, FTOS_EntityStatusSettings, FTOS_MKT_AudienceSegments, FTOS_MKT_Audience, and for all Banking Product entities.
If you have already moved data using the Configuration Data Deployment Package menu, then you probably have already configured some unique constraints.
Before running the script, make sure you:
-
Disable the constraints that you have created on your environment, allowing the system to create the new ones after the Banking Product Factory v3.2 is imported.
-
Use the new Configuration Data Definitions imported with the Banking Product Factory v3.2 file when you export the data.
Installation Steps
-
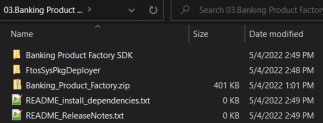
Unzip your
Banking Product v3.2.ziparchive file. -
Locate the FtosSysPkgDeployer folder in the
FintechOS installation kit(the path is <unzipped_install_archive>\Tools\FtosSysPkgDeployer). You need it to install the Banking Product Factory v3.2.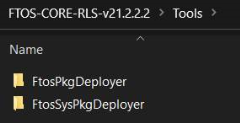
-
Select and copy the FtosSysPkgDeployer folder.
-
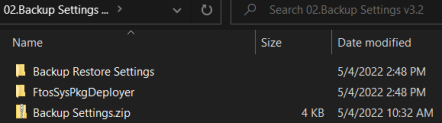
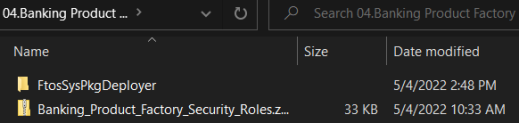
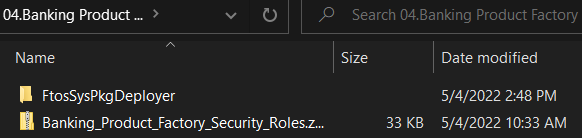
Navigate to the location where you have unzipped the Banking Product v3.2.zip (let’s call this location <pckg_deployer_dir>), then paste the FtosSysPkgDeployer folder there, within each and every
zipfile that comes with the package.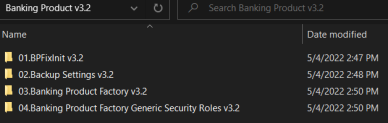
 IMPORTANT!
Eachzipfile within the Banking Product v3.2.zip must be extracted and installed separately, in the given order!
If you decide not to use the default security roles that come with the package, simply skip the Banking Product Factory Generic Security Roles zip file. -
Edit the
install_Syspack.batfile. Replace the parameters described in the install_SysPack.bat Parameters Explanation section with your own values. Save and close the file. -
Right-click
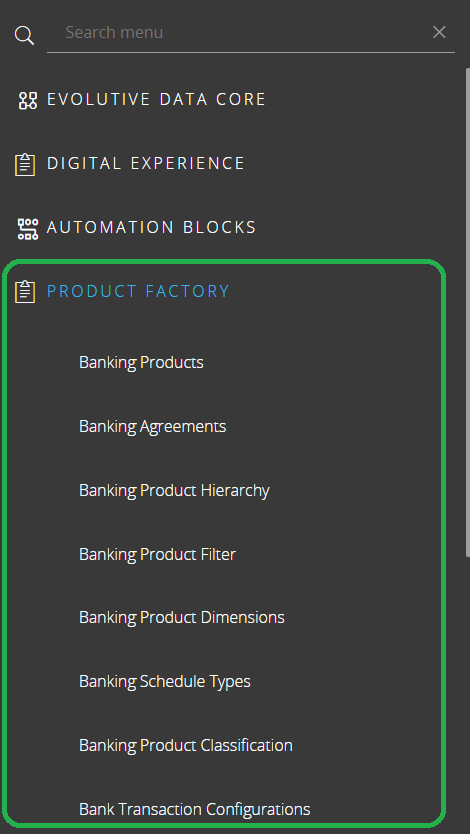
install_SysPack.bat» Run as administrator.


The script starts running in your Windows console. Wait for it to finish. If your parameter values were correct, Innovation Studio has the Banking Product menu items visible after a refresh:
The install_SysPack.bat file allows you to import both the data model and the data:
install_SysPack.bat syntax for Data Model import
FtosSysPkgDeployer.exe -i -s "<StudioLink>" -u <AdminStudioUser> -p <user_password> -z <DataBaseServer> -v <DB_user> -k <DB_user_password> -d "<TheNameOfTheDataBase>" -r "<syspack_path>\01 DeploymentPackages\*.zip"
install_SysPack.bat syntax for Data import
FtosSysPkgDeployer.exe -g -s "<StudioLink>" -u <AdminStudioUser> -p <user_password> -r "<syspack_path>\02 ConfigurationDataDeploymentPackages\*.zip"The syntax presented here is for information purposes only. Please run the actual
install_SysPack.bat file.install_SysPack.bat Parameters Explanation
-
<StudioLink>- The web URL of the Innovation Studio installation, for example http://localhost/ftos_studio. -
<AdminStudioUser>- The username of the Innovation Studio user under which this import is executed. The user has to exist in Innovation Studio prior to this operation. -
<user_password>- The password for the Innovation Studio user. -
<DataBaseServer>- The name of the database server where the FintechOS installation database was created. -
<DB_user>- The username of the SQL Server user with administration rights on the FintechOS installation database. -
<DB_user_password>- The password for the above mentioned SQL user. -
<TheNameOfTheDataBase>- The name of the database where the Banking Product v3.2 is deployed. -
<syspack_path>- The physical path to the unzipped Banking Product v3.2 previously downloaded.
For more information about the script, please run
FtosSysPackageDeployer.exe without any arguments to see the built-in help.If you're using SQL Server Integrated Authentication, make sure that the Windows user used for running the script has access to the FTOS database, with read/ write rights. Run the command without the SQL username/ password parameters.
If you're using SQL Server Build In Authentication, make sure that the SQL Server user has read/ write access to the FTOS database. Run the command with the SQL username/ password parameters.